Revell 1/48 A-10 Thunderbolt II: Building and priming

Tags

, , ,

I wasn’t much of an Air Force brat (my father was in the US Army) but we lived in a city that had 4 different Air Force bases, so hearing fighter jets and cargo planes was kind of a way of life. When I hung out with other military brats and geeks we’d just get together and riff on things like Predator (talking about what gun everyone carried) or Top Gun (commenting about how ‘that plane can’t carry that many missiles of that type!’ – actual argument).

So when it comes to modern warplanes I’m not the most versed military nerd around, but I know the flying machines I really like: the F-15, the Apache heli, F-14 and of course the Warthog: the A-10 Thunderbolt!

Basically it’s a flying gun. What’s not to like? The fact that it can take a beating and carry tons of bombs and anti-tank missiles is just a bonus.

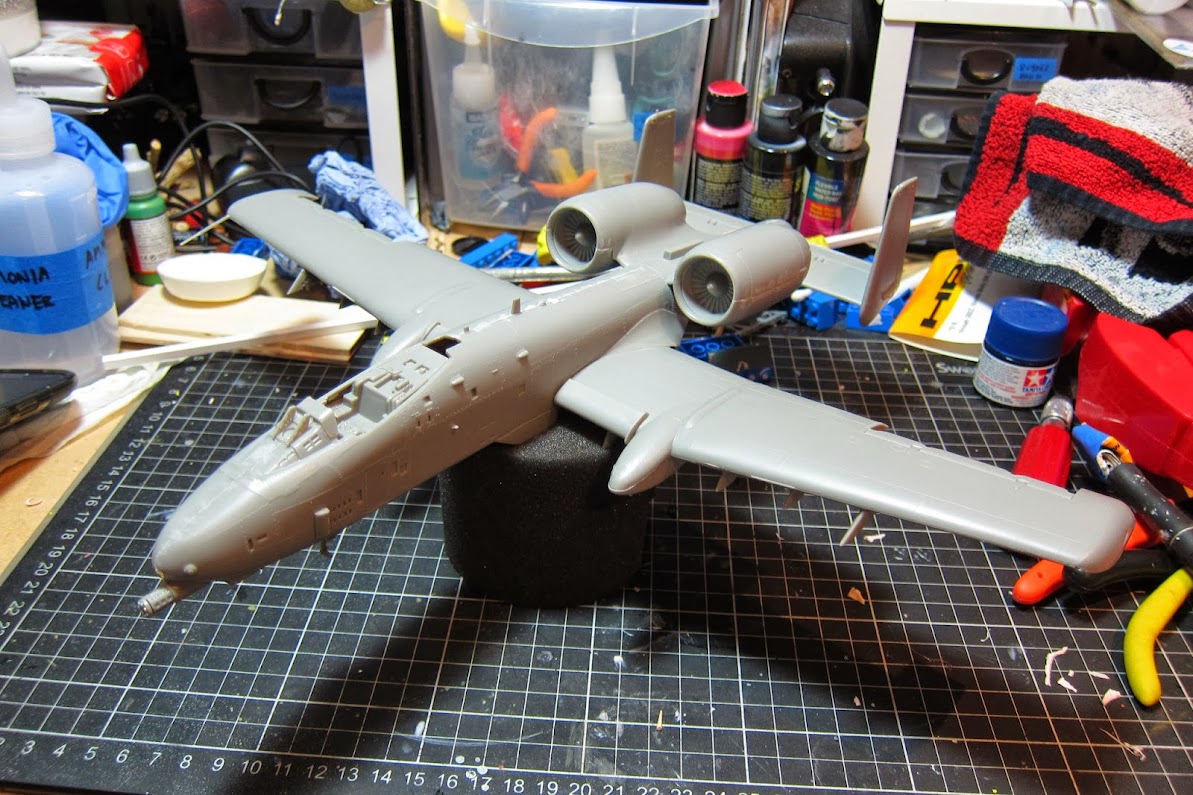
I was really happy to get this model, and in such a size! It’s nearly a foot long and a foot across, it’s HUGE for a plane model. Very happy with this – and all the rivets in such high detail give me a nightmare when it comes to filling and sanding, but any mistakes will hopefully be covered up with the high detail in other areas.

So here’s the assembled model before I started painting:

Couple of problem areas…the main one is where the wings join the fuselage:

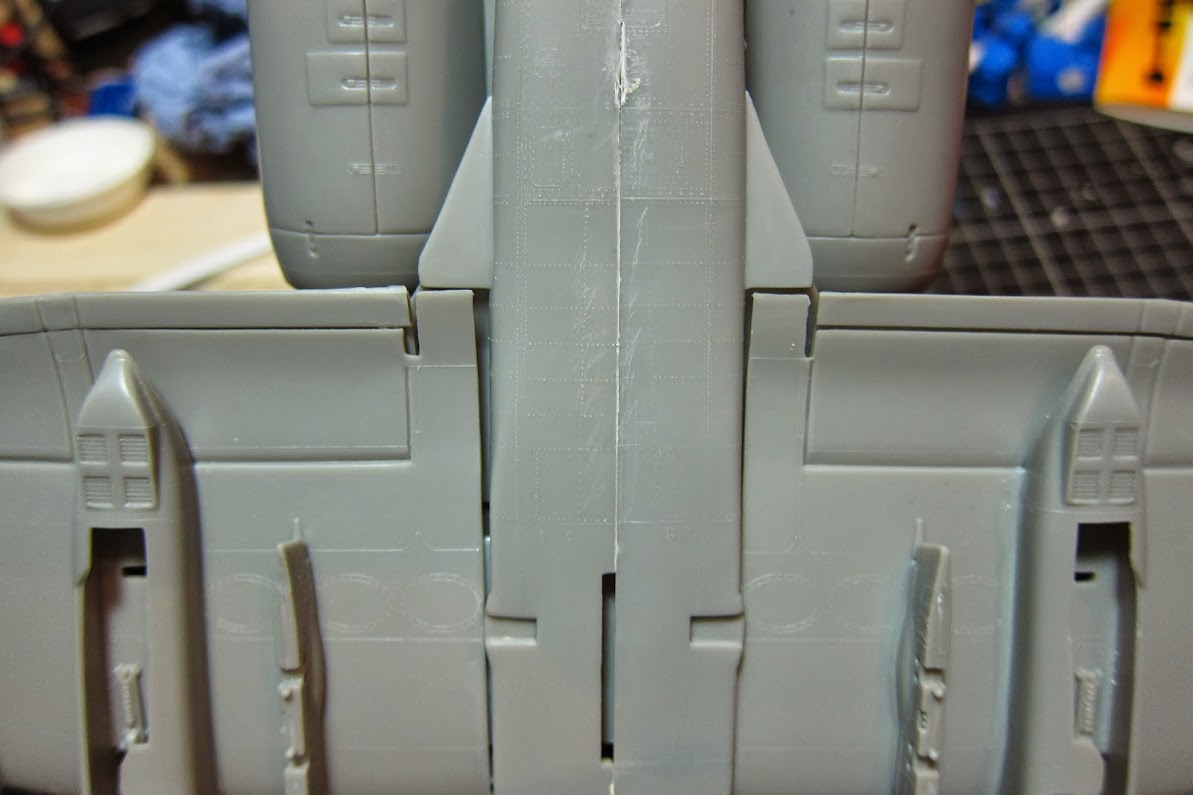
You can see there’s a sizeable and VERY noticeable gap between the wings and lower fuselage…very annoying! I didn’t notice this when I did the dry-fit so seeing it after I’d put glue on everything was kind of upsetting.

Oh well. No matter…UNTIL I saw someone building this EXACT SAME kit on International Scale Modelers and mentioned my problem, he said he didn’t notice the fitting problem so I gently ripped the wings off, re-glued (at my workbench instead of while watching TV on the couch) and fiddled with the fitting until I was happy (it took a while!) and now the gaps are much less noticeable but there will still need to be some filler used to make it look smooth.

Here’s the nose of the A-10, showing a couple of issues:

The gaps in the gun pieces aren’t a big deal, it’s the misalignment of the cooling vents that annoy me more – and the misalignment of the panel lines…not sure how to fix that now so I’m just going to go ahead with it.

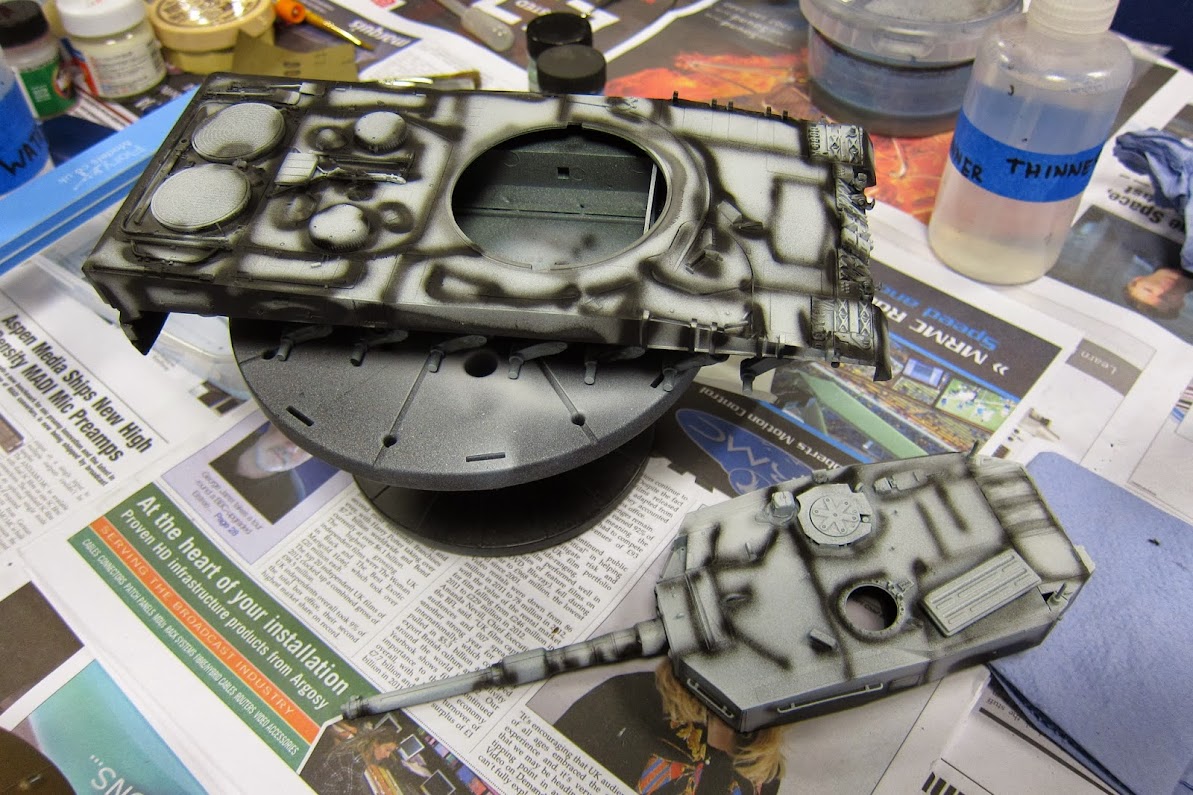
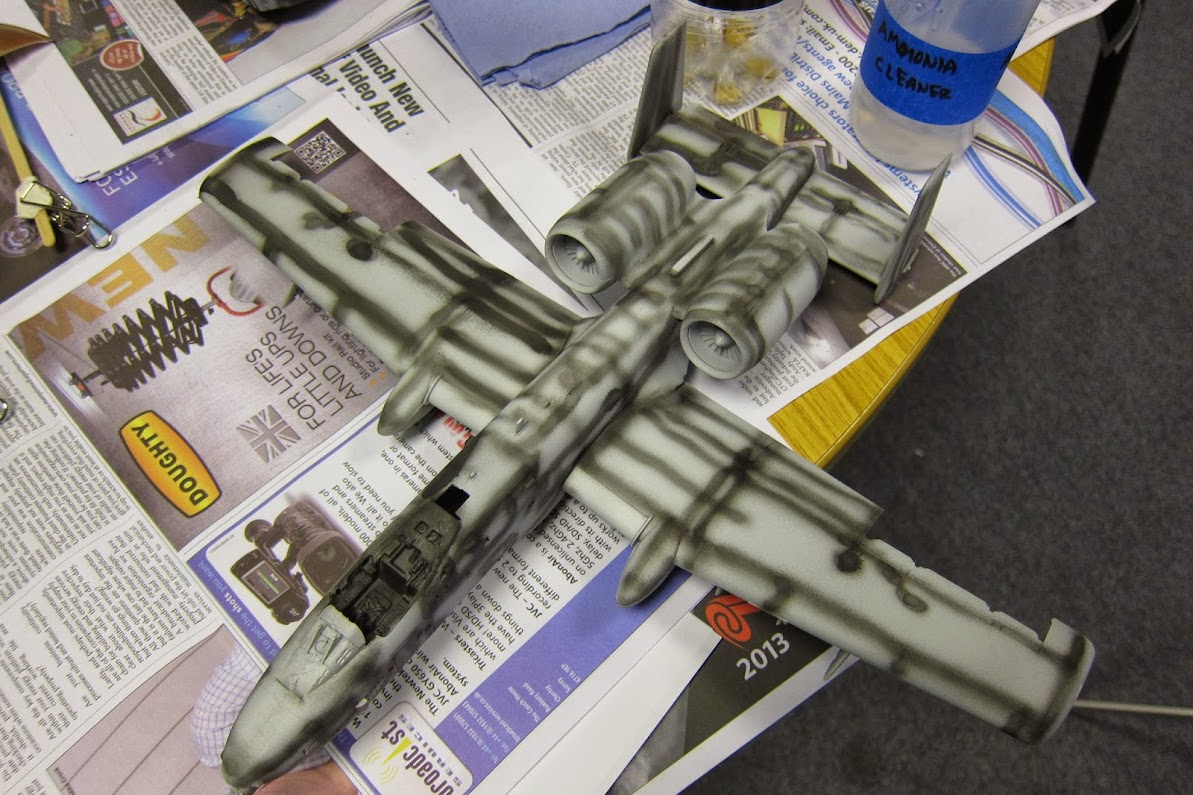
Once again spraying the whole model with Vallejo grey primer and panel-lining with Vallejo black primer:

And that’s where I sit for now! I’m planning to build as many bombs and missiles as it will carry, but I’ll probably paint those on the sprue and touch-up as needed. The cockpit and landing gear will have to be painted white, so I’ll do those separately and try to glue them in place without destroying anything.

Paints & Equipment Used: 

  • Badger 105 Patriot airbrush
  • Badger Renegade Krome airbrush
  • Vallejo Grey Primer
  • Vallejo Black Primer

Revell 1/35 Leopard 2A4: Priming and first color coats

Tags

, , ,

Another facet of scale modeling I was always into but couldn’t achieve the results I wanted was in modeling tanks. Modern main battle tanks are awesome machines – 60 tons and hitting 60mph+ over muddy fields…plus the ability to shrug off infantry attacks and blast through houses and other armored vehicles! What’s not to love?!

So it was pretty cool to get my hands on this tank, which actually almost shares a birthday with me! This is the variant that was built in the 1980’s I believe, back when I was really getting my Army nerd credentials in order…

Anyway, here’s the assembled tank, minus road wheels and tracks:

I’ve left the side skirts, wheels and tracks off for now, I’ll paint them separately while I decide what to do with the vinyl tracks that come in the kit. I’ve read they’re generally horrible and most serious modelers use aftermarket tracks, but I’m not THAT keen, so I’ll make do with the vinyl stuff for now. Half of the tracks will be covered up with the side skirts anyway, and for the join that is visible hopefully I can cover that with some mud pigment effect.

Here’s the Leopard after priming in grey Vallejo primer and doing the panel lines (also Vallejo primer, black this time):

NO, the panel lines aren’t as thin as I’d like but hopefully the green paint I’ll be using (Badger Model Flex European Dark Green) will cover up most of that mess.

I didn’t get a picture of spraying the Dark Green but here’s what the Leopard looks like after the Dark Green and then post-tinting the centers of the panels with a mix of Dark Green with a drop of white:

Much better, I think!

I’ll be giving the side skirts and road wheels the same treatment and then going over the details like the shovels and other tools by hand, then adding a bit of paint chipping with paint, and dust and a bit of mud with weathering powders.

I thought the tank would come out pretty boring in just one color, so hopefully the weathering (as if it has just finished a field-training exercise) will help give it a bit of character.

Paints & Equipment Used: 

  • Badger 105 Patriot airbrush
  • Badger Renegade Krome airbrush
  • Vallejo Grey Primer
  • Vallejo Black Primer
  • Badger Model Flex European Dark Green

Revell 1/16 1951/52 VW Beetle: Painting the outer body, Part 1

Tags

, ,

So here’s my first post about the scale models I’ve started building recently!

This one will be about the Revell 1/16 scale VW Beetle from 1951. I grew up in a couple of different Beetle cars from the late 60’s and early 70’s, and we even had a VW van with a Westfalia camper conversion that went all over the US. (maybe a subject for a model down the road?)

Now that I’ve got a lot of the tools and paints that I wish I had when I was a kid and am able to muster up the patience to build things correctly, it’s about time that I try to airbrush a real gloss finish to a car model. The box art has this car shown with white paint and white wheels (and of course the chrome hub caps!) but I’m going to paint this one a dark blue – Tamiya X4 to be exact.

So here’s the main body primed with Vallejo grey primer:

And the other external body parts in the same primer:

(not a great picture)

The primer covers really well, I’ve ready of some people having problems with the ‘black cap’ Vallejo primer but I haven’t seen these issues. I wash the parts thoroughly in warm soapy water, dry them off, put them in front of a fan heater or blow dryer to take off the water vapor and then do a couple of mist coats of primer before one solid coat and that seems to work well. From what I’ve read you’re meant to let the final coat of primer cure for at least 2-3 hours but spraying the color within half and hour seems to be OK. When I spray my wargame models I just prime and lay the base coat almost immediately, so going back to scale models is a real eye-opener when it comes to surface prep and drying time! Especially with gloss.

Anyway, after the primer was cured I shot some color coats, starting with a couple of mist coats:

The first ‘wet coat’ didn’t go on so well:

You can see where I’ve laid paint thicker in some areas than in others, this will have to be corrected in future coats, but I have to wait about a day between each wet coat,  and then wetsand (with 3000 grit paper) & fully wash the car after each coat.

Gotta carry on with the spraying and hope I don’t make any dreadful mistakes!

Paints & Equipment Used: 

  • Badger 105 Patriot airbrush
  • Badger Renegade Krome airbrush
  • Vallejo Grey Primer
  • Tamiya X5 Blue

First Post!

Tags

Yep, the obligatory ‘hi, welcome to my blog’ post.

I decided to start up another blog to go alongside my wargaming modeling sites to a) give me more inspiration to keep building models and b) collect tips and cool things that I find online.

Soon enough I’ll start posting pictures of the models I’m working on, until then sit tight! 🙂